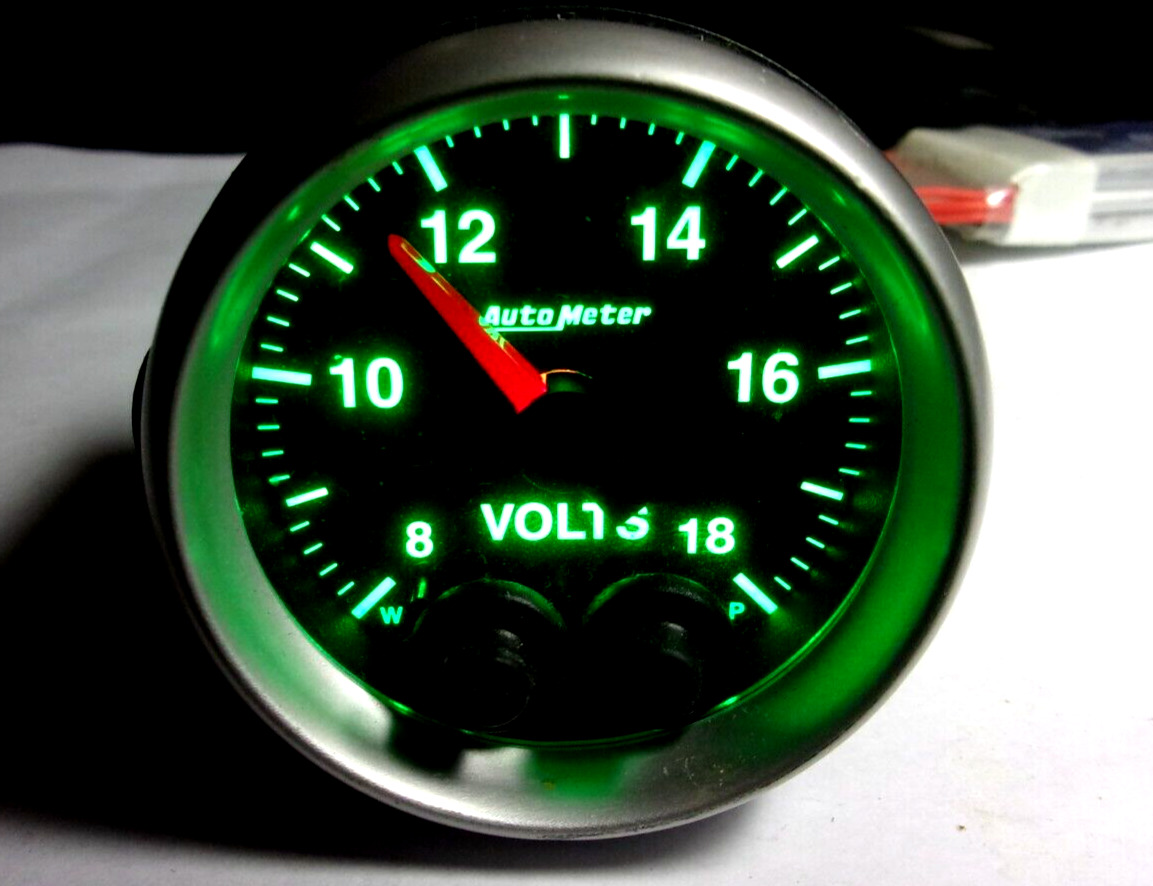
Autometer 5683 Elite Series 2-1/16" Full Sweep Peak/Warn VOLTS GAUGE 7Color
- Item #:
- PR-285778742070
- Ships From:
- Asheville, North Carolina, US
-
Powered by
 Price:
 - $75.99
Our site may earn a commission when you click on links to various merchants and make a purchase.
Auto Meter Part No: 5683
Manufacturer: Auto Meter
Part Number: 5683
Interchange Part Number: gage guage, Voltmeter
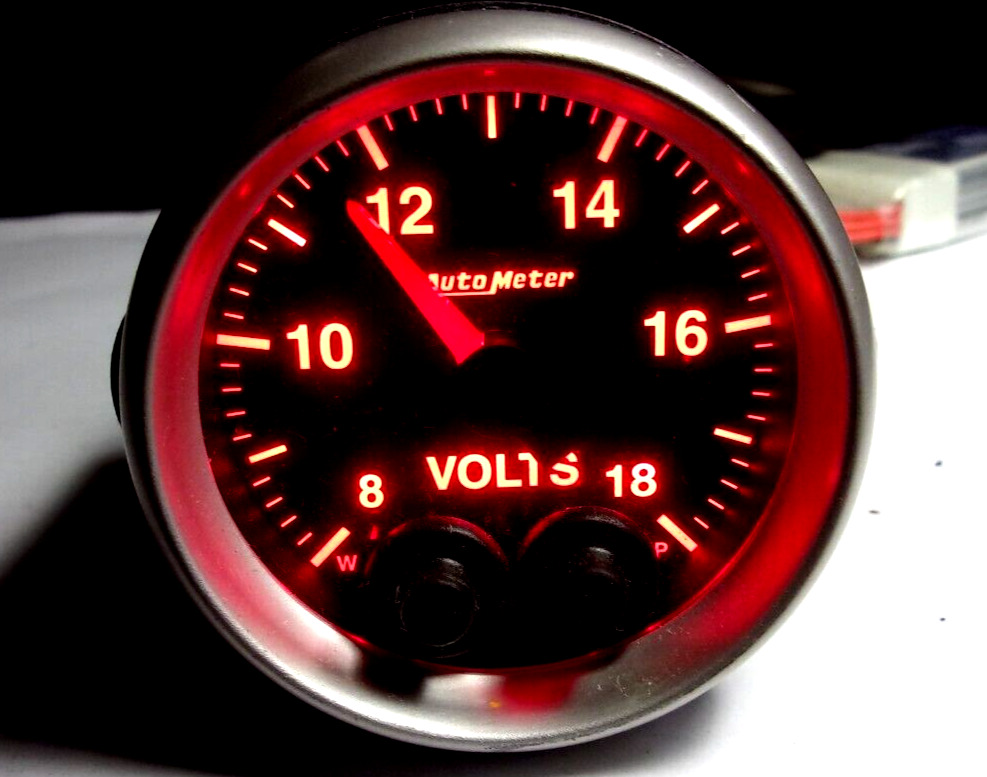
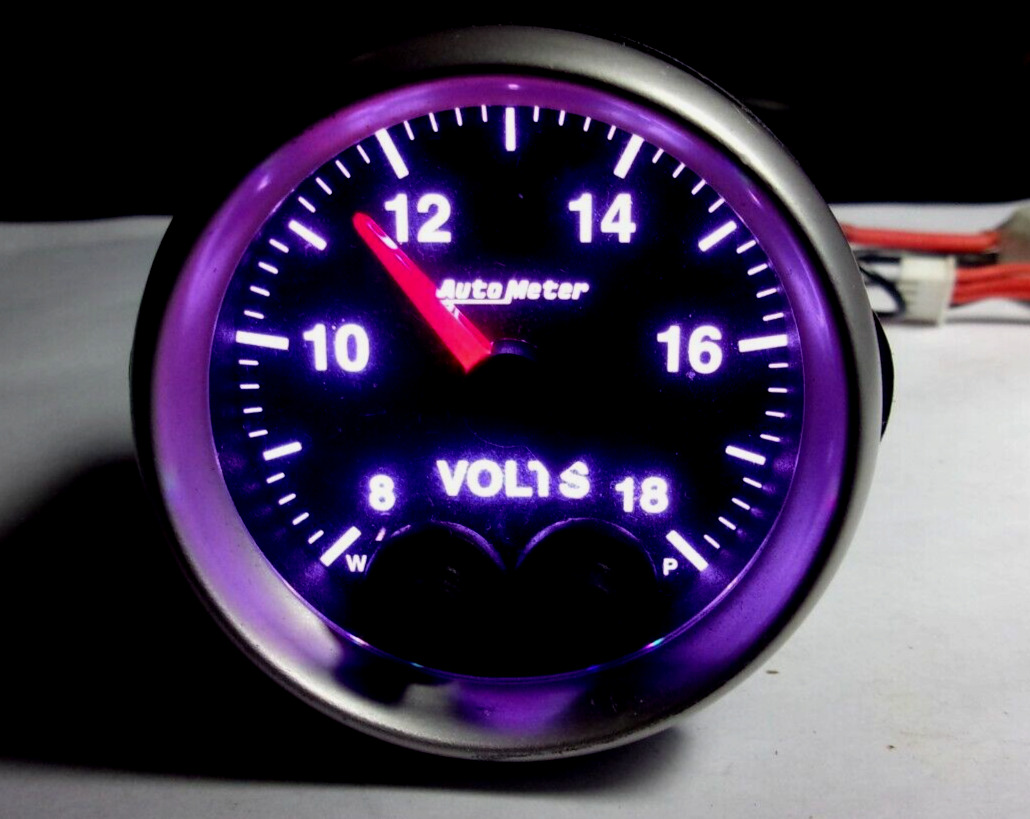
Color: Black Face, Silver Bezel, 7 Color LED Lighting
Features: Illuminated (Backlit)
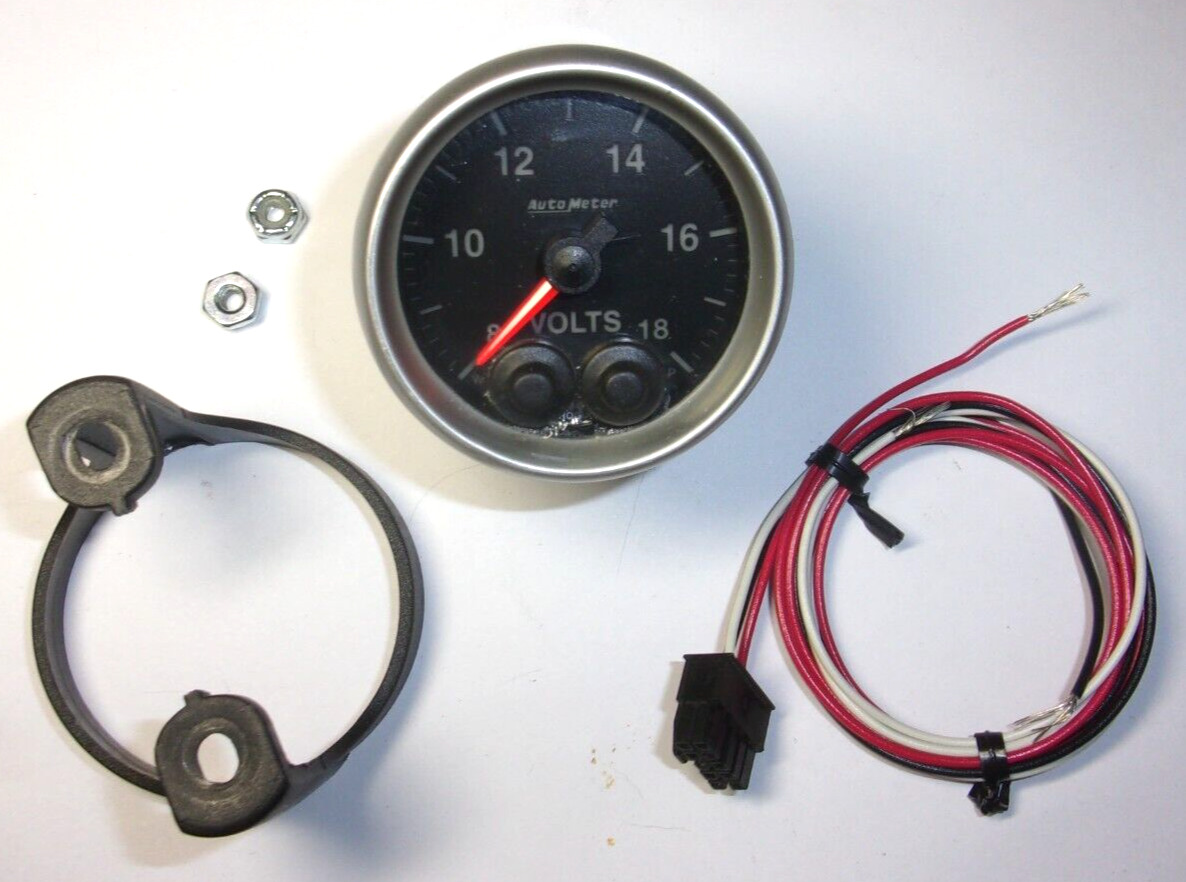
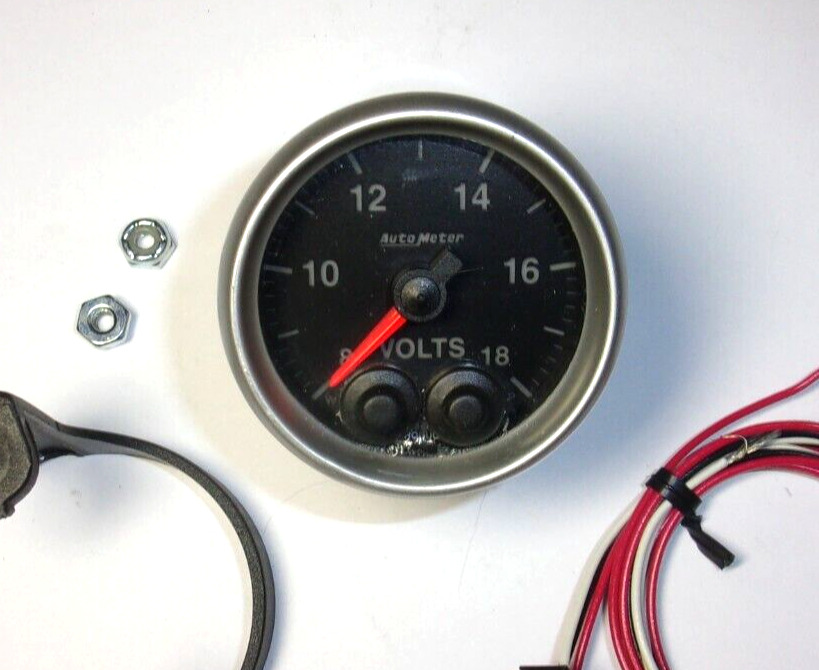
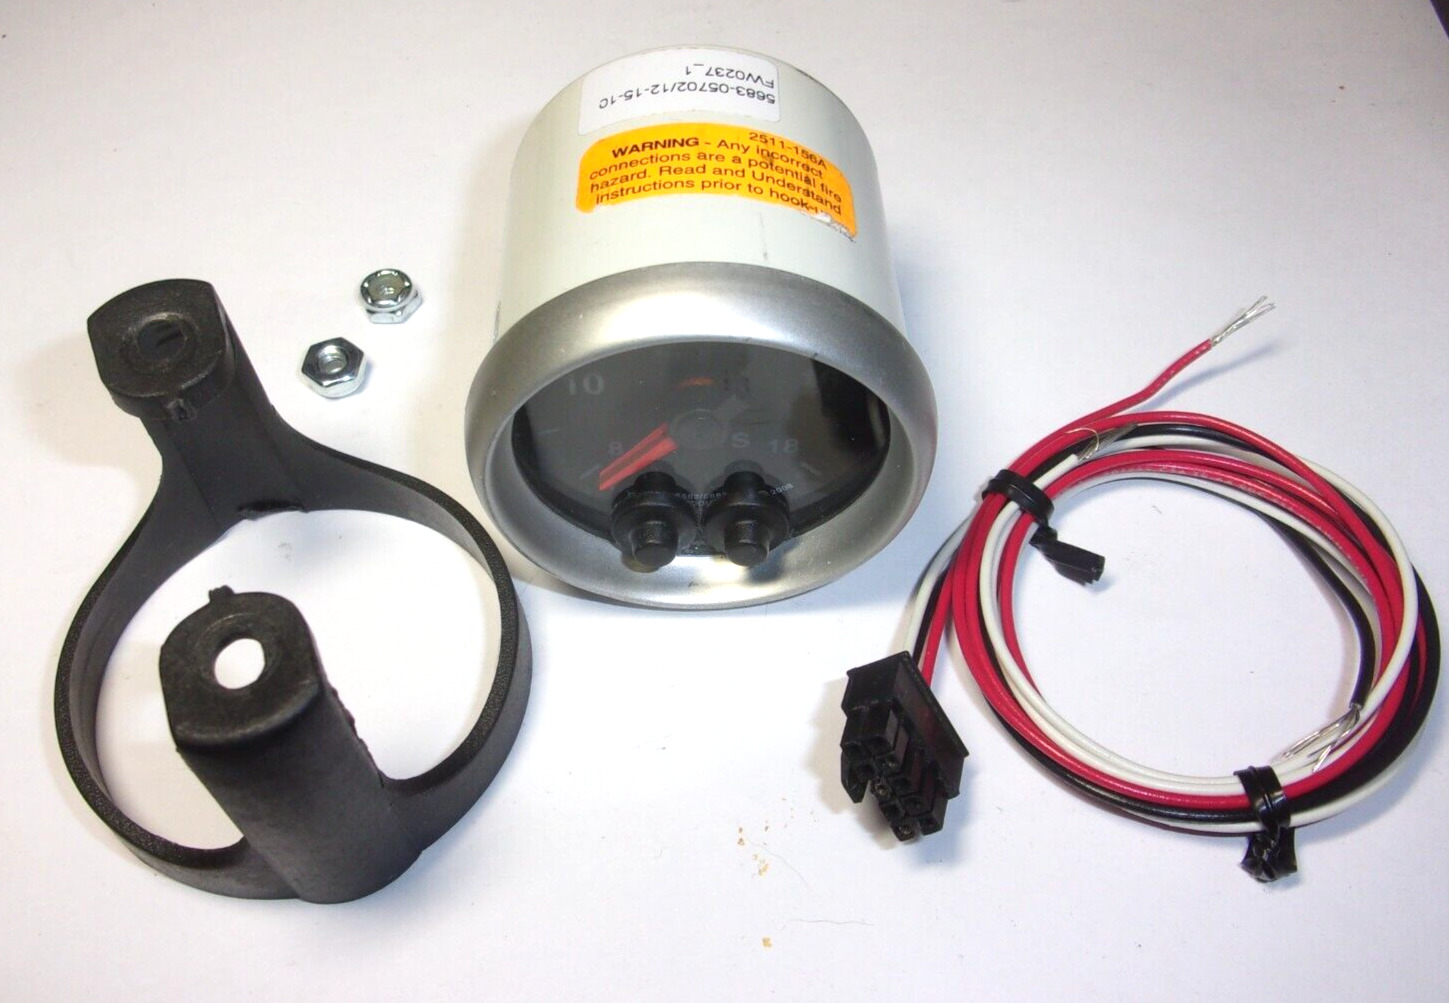
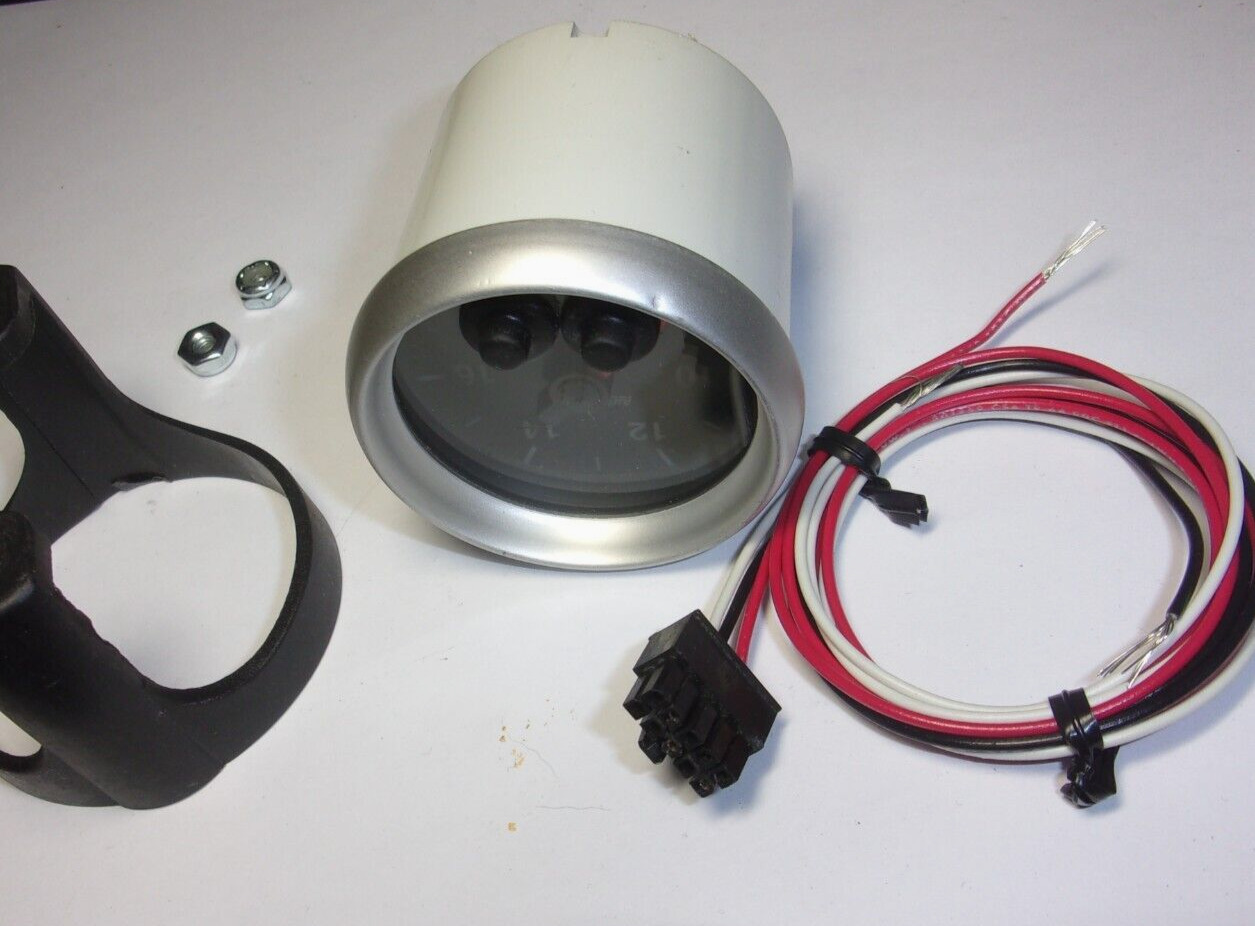
Works perfectly, Gauge has minor blems, otherwise good shape.
4 programmable warning points(2 low, 2 high), peak memory recall and choice of 7 colors for each of 3 display regions (low warn, normal, high warn) .
Includes wire harness and mounting bracket exactly as shown.
High Warning Set Point
To adjust the high warning set point, press and release the WARN button. The warning light will begin to flash and the pointer will move to the previous high warning set point signifying that warning set mode has been selected. Once in set mode, press the WARN button to move the pointer down, or press the PEAK button to move the pointer up. Three seconds after the last button press, the warning light will stop blinking and the pointer will return to the current reading. The warning set points are retained when power is removed from the gauge.
High Over Warn Set Point
To adjust the high over warn set point, press and hold the WARN button. After three seconds the warning light will begin to flash and the pointer will move to the previous high over warning set point signifying that over warn set mode has been selected. Release the warn button. Once in set mode, press the WARN button to move the pointer down, or press the PEAK button to move the pointer up. Three seconds after the last button press, the warning light will stop blinking and the pointer will return to the current reading. The over warn set points are retained when power is removed from the gauge.
Low Warning Set Point
To adjust the low warning set point, press and hold the WARN button, and while still holding the WARN button, press and release the PEAK button. The warning light will begin to flash and the pointer will move to the previous low warning set point signifying that warning set mode has been selected. Once in set mode, press the WARN button to move the pointer down, or press the PEAK button to move the pointer up. Three seconds after the last button press, the warning light will stop blinking and the pointer will return to the current reading. The warning set points are retained when power is removed from the gauge.
Low Over Warn Set Point
To adjust the low over warn set point, press and hold the WARN button, and while still holding the WARN button, immediately press and hold the PEAK button. After three seconds the warning light will begin to flash and the pointer will move to the previous low over warning set point signifying that over warn set mode has been selected. Release both buttons. Once in set mode, press the WARN button to move the pointer down, or press the PEAK button to move the pointer up. Three seconds after the last button press, the warning light will stop blinking and the pointer will return to the current reading. The over warn set points are retained when power is removed from the gauge.
To change the backlight color:
With power off, press and hold the warning button. Apply power to the gauge. Release the WARN button. Press and release the PEAK button.
The pointer will move to half scale and the dial will illuminate with the current Backlight Color. Press and hold the PEAK button to cycle through
the available colors. Once you have selected the desired color, release PEAK and don’t press any buttons for about three seconds. The dial
will flicker white several times to indicate the desired setting has been saved and the gauge will return to normal operation with your new color
selection. Color selections are saved when power is off.
Change Low Warn Color (Region A color) Warn Color Set Mode:
With power off, press and hold the WARN button. Apply power to the gauge. Release the WARN button. The pointer will be at the stop pin and the dial illumination will be off. Press and release the WARN button to cycle between HIGH warn color set and LOW warn color set modes. In High Warn color set mode, the pointer will move to full scale and the dial will illuminate with the current High Warn color. In Low Warn color set mode, the pointer moves to the minimum position and the dial will illuminate with the current Low Warn color.
To change Low Warn Color:
When the Low Warn color set mode has been selected (see above), press and HOLD the WARN button to cycle through the available colors.
Once you have selected the desired color, release the WARN button. Don’t press any buttons for about three seconds. The dial will flicker
white several times to indicate the desired setting has been saved and the gauge will return to normal operation with your new Low Warn color
selection. Color selections are saved when power is off.
Change High Warn Color (Region C color) Warn Color Set Mode:
With power off, press and hold the WARN button. Apply power to the gauge. Release the WARN button. The pointer will be at the stop pin and the dial illumination will be off. Press and release the WARN button to cycle between HIGH warn color set and LOW warn color set modes. In High warn color set mode, the pointer will move to full scale and the dial will illuminate with the current High Warn color. In Low Warn color set mode, the pointer moves to the minimum position and the dial will illuminate with the current Low Warn color.
To change High Warn Color:
When the High Warn color set mode has been selected (see above), press and hold the WARN button to cycle through the available colors.
Once you have selected the desired color, release the WARN button. Don’t press any buttons for about three seconds. The dial will flicker
white several times to indicate the desired setting has been saved and the gauge will return to normal operation with your new High Warn color
selection. Color selections are saved when power is off.
Lighting Mode (Region B Color)
This gauge allows the dial lighting to operate in two modes, Full On or Dimmable. Factory default is Full On.
Full On: In this mode, the white lighting wire is ignored. The gauge dial lighting is always on at full brightness. (unless you select NO color
when setting the Backlight Color). If using Full On mode, white wire hook-up is not needed.
Dimmable:
In this mode, the white wire is used to set the intensity of the dial lighting from full brightness down to off.
To change the Lighting Mode:
With power off, press and hold the PEAK button. Apply power to the gauge. Release the PEAK button and the dial face will illuminate with either
white lighting or blue lighting. Press and release the PEAK button to toggle between Full On (dial is illuminated white) and Dimmable (dial is
illuminated blue). Once you have selected the desired mode, don’t press any buttons for about three seconds. The dial will flicker white several times
to indicate the desired setting has been saved and the gauge will return to normal operation with your new mode selection. Mode selections are
saved when power is off
Returns Accepted: Yes
Item must be returned within: 30 calendar days
Return shipping will be paid by: BUYER


